Example project
Downloading the example project
The easiest way to get started with django-productline is to get
the example project from github. So we cd into your webapps master container
and clone the example project from github:
cd ~/Desktop/code/webapps
git clone https://github.com/tonimichel/djpl-example-project
After we’ve done this we should see the following folder structure:
webapps
|--_ape
|--djpl-example-project
   |--features
   |--products
At this point, we need to declare some terminology:
- The
webappsfolder is the so called master container. It is the environment where your djpl stuff will live in. - The
_apefolder encapsulates ape which provides the virtualenv and a set of productivity tools to maintain djpl applications. - All folders directly under
webapps(except_ape) are projects. These project folders are called containers. A container encapsulates all your project stuff.
So, in summary, we speak of projects in means of containers. All our projects will live in a master container (providing a virtualenv and ape).
A project consists of features and products. A product is a web application running on a certain domain:port. A product provides
a selection of features. A feature is the equivalent to a django app (read this section for more information about features:LINK).
Project-specific features are defined in the project’s features directory.
Often we want to use features across multiple projects. This can be accomplished by creating so called feature pools.
However, at this point we’ll concentrate on the example project.
Finally we need to install some basic features:
pip install -r requirements.txt
Configuration, syncdb, runserver
So let’s get it running!
The first thing we have to do - and we always have to do it when working with django-productline projects - is to activate ape:
cd ~/Desktop/code/webapps
. _ape/activape

(Once “activaped”, the virtualenv is activated and the ape management tasks are available on our shell.)
Each product has a (slightly) different configuration depending on the machine it is deployed.
Consider for example the django the SECRET_KEY which “is used to provide cryptographic signing, and should be set to a unique, unpredictable value”.
These deployments specific configurations are stored in a context.json file which must be provided by each product.
Warning
It is strongly recommended to not put your context.json under version control. Instead generate it once
for each deployment of your project.
To generate the context.json enter the following in your shell:
ape generate_context djpl-example-project:product1
This command generates the context.json for the product product1 of the djpl-example-project container.
So everytime we need to setup or deploy a new product we initially need to generate the context
with this command. The following listing shows the generated context.json for product1
{
    "SECRET_KEY": "8mhc=bv0046wp#9#k7un$=_)s=bq5(l+dvdn3)y6&=nz&be(44",
    "SITE_ID": 1
}
Last but not least we need to run syndb` and finally ``runserver. Before that, we need
to switch to the product we want to start:
ape zap djpl-example-project:product1
This command teleports ape into the right context, setting all environment variables according to the selected product. Finally we can synchronize the database and run the server:
ape manage syncdb
ape manage runserver
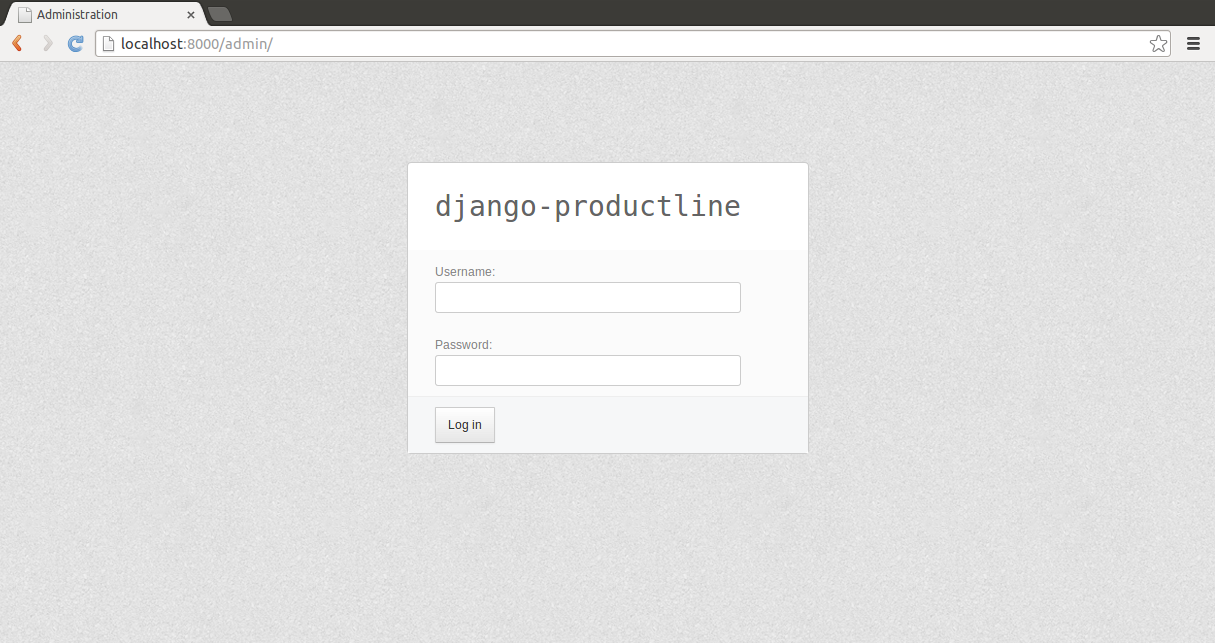
Enter http://localhost:8000/admin/ into your browser’s address bar and there you go: